Edit-first control matches the work.
CapCut's AI image upscaler sharpens edges, reduces visible noise and prepares photos, illustrations or product images for larger layouts.
CapCut's AI image upscaler sharpens edges, reduces visible noise and prepares photos, illustrations or product images for larger layouts.
Output limits, models and batch features can change by product version and account.
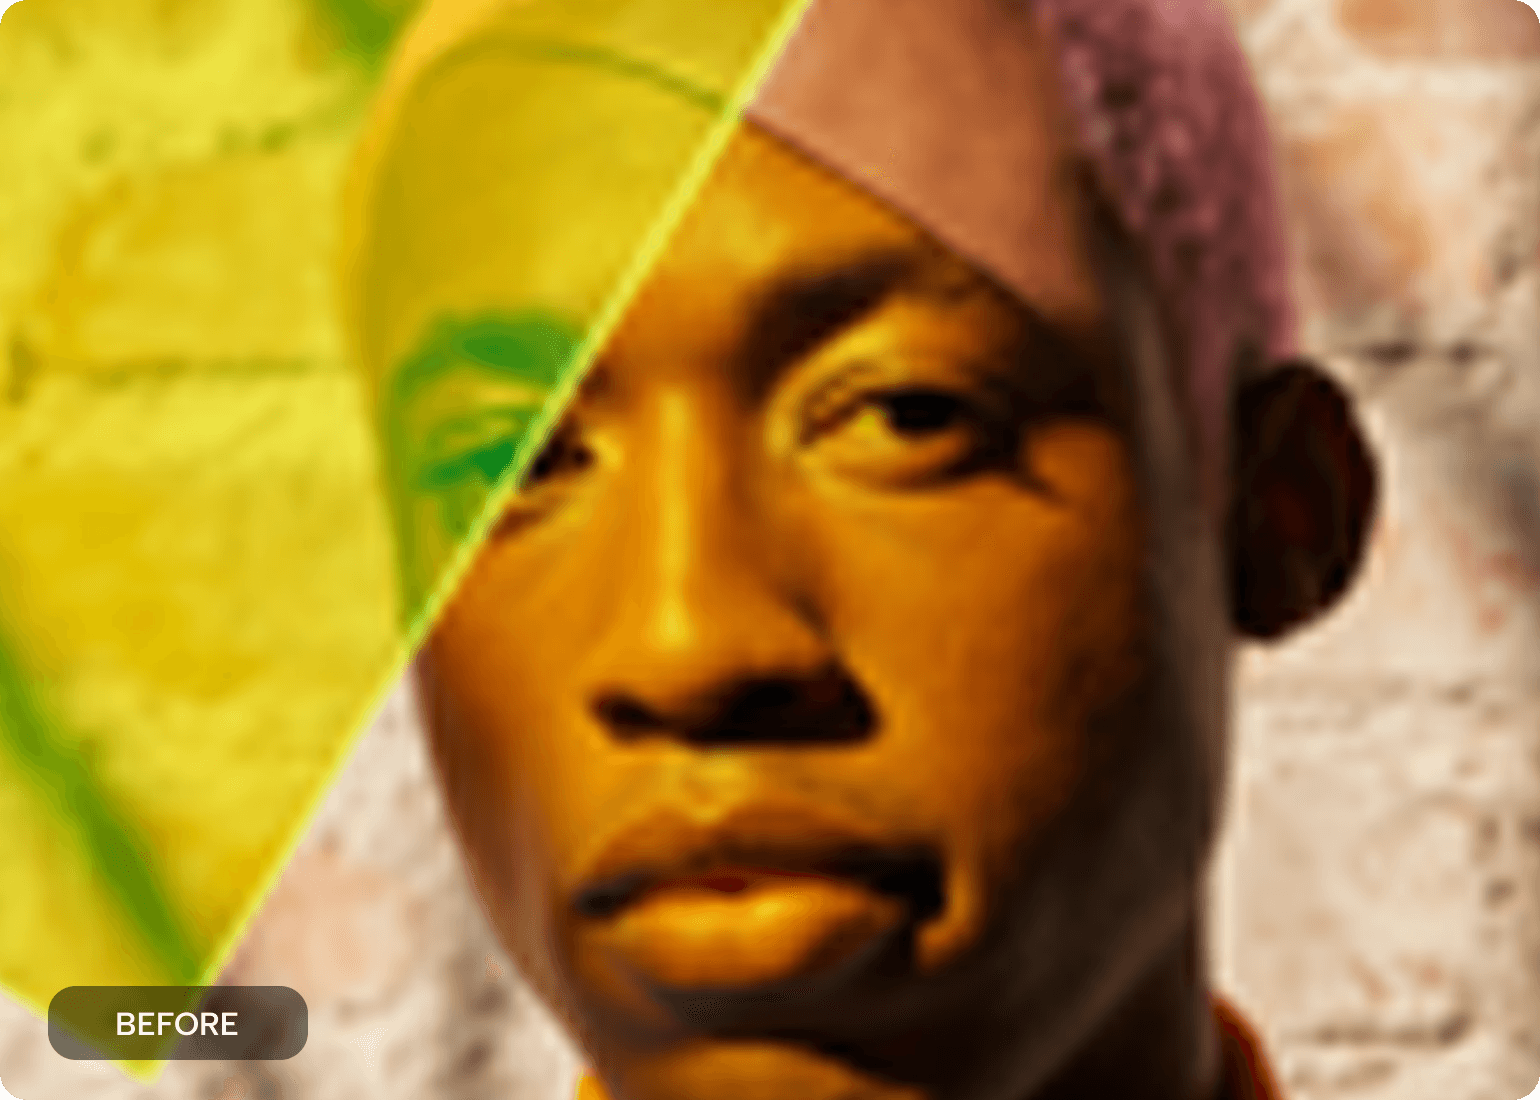
CapCut's AI image upscaler sharpens edges, reduces visible noise and prepares photos, illustrations or product images for larger layouts.
CapCut's AI image upscaler sharpens edges, reduces visible noise and prepares photos, illustrations or product images for larger layouts.
Begin with a prompt, image, product link, script or existing Invideo project, then open the focused workflow built for that job.
Compare Invideo AI →Begin with the least-compressed version available.
Upscale only as far as the intended layout requires.
Inspect text, faces, product edges and repeating patterns before use.
Prepare product photos for larger cards, ads or marketplaces.
Improve readability while keeping the original archived.
Increase output size before final design work.
CapCut promotes high-resolution outputs, with current maximums depending on the tool and model.
Not always. AI reconstruction can distort small lettering, so product labels and logos require close review.
The official page presents photos, illustrations, drawings, scans and AI-generated images.
Only if the final output needs it; excessive sharpening can create halos and artificial texture.
Start with the device, task or plan that fits the work in front of you—then move directly to the official CapCut tool.
CapCut's AI editor brings generation, captions, cleanup, reframing and enhancement into a workflow that still leaves the final timing and judgment to the editor.
Generate subtitles, correct the words and timing, then style them for Shorts, Reels, tutorials, interviews or longer videos.
Use AI-assisted clipping to identify highlights, reframe the subject and prepare several vertical drafts from one longer recording.
CapCut combines speech recognition, subtitle translation, dubbing and supported voice-preservation tools for multilingual video workflows.
CapCut combines text-to-video, image animation, model choice and editing tools so a generated clip can move directly into a finished timeline.
Compare edit-first and prompt-first video workflows.
Browse the wider task-first catalog.
Each recommendation shows why it belongs here.

Define the topic, focal subject and viewing context, generate a starting design, then simplify it for small-screen readability.

Upload a reference image, describe the movement and result, then refine the generated clip before it enters a larger edit.
Describe the subject, composition and style, compare outputs, then correct the visual before animation, design or editing.